Walnut Tassie Cookies

This recipe has been in my family FOREVER.  And although I do not eat cream cheese or walnuts, I LOVE these cookies!  The cream cheese in the crust adds the perfect hint of tanginess, and the walnuts and brown sugar are heaven together. This cream cheese crust is insanely easy to make!  Sometimes I will double the crust recipe and then fill the extra crusts with jams! Apricot, blueberry, raspberry….the possibilities are endless!  And delicious!

IMG_2418
You want to make sure the cream cheese and butter are fully combined before adding the flour.

IMG_2419

Once you add the flour and mix, a dough will start to form.IMG_2420

IMG_2422

IMG_2423

IMG_2425

IMG_2434

Crust
1 stick unsalted butter (softened)
6 oz cream cheese (softened)
2 cups flour

Filling
1 1/2 cups brown sugar
1 cup chopped walnuts
3 tbsp melted butter
2 eggs
2 tsp vanilla extract
pinch of salt

  1. Mix the softened butter and cream cheese together until combined.  Add the flour and combine until a dough forms.  Place the dough in the fridge to harden a bit while making the filling.
  2. Chop up or smash the walnuts.  Combine the rest of the ingredients to make the filling.
  3. Take the dough out of the fridge (it should be a bit more solid) and break off pieces of the dough into small balls.   Press the small ball into a well of the mini muffin pan, and press around the bottom and sides until the muffin cup is completely covered.
  4. Fill the cups with the filling.  The filling will not rise too much, so be sure to fill them to the top.
  5. Bake in the oven at 350 for about 25 minutes or until the top of the pastry starts to become golden.
  6. Enjoy!

Trader Joe’s Gluten Free Cauliflower Sheet Pan Gnocchi

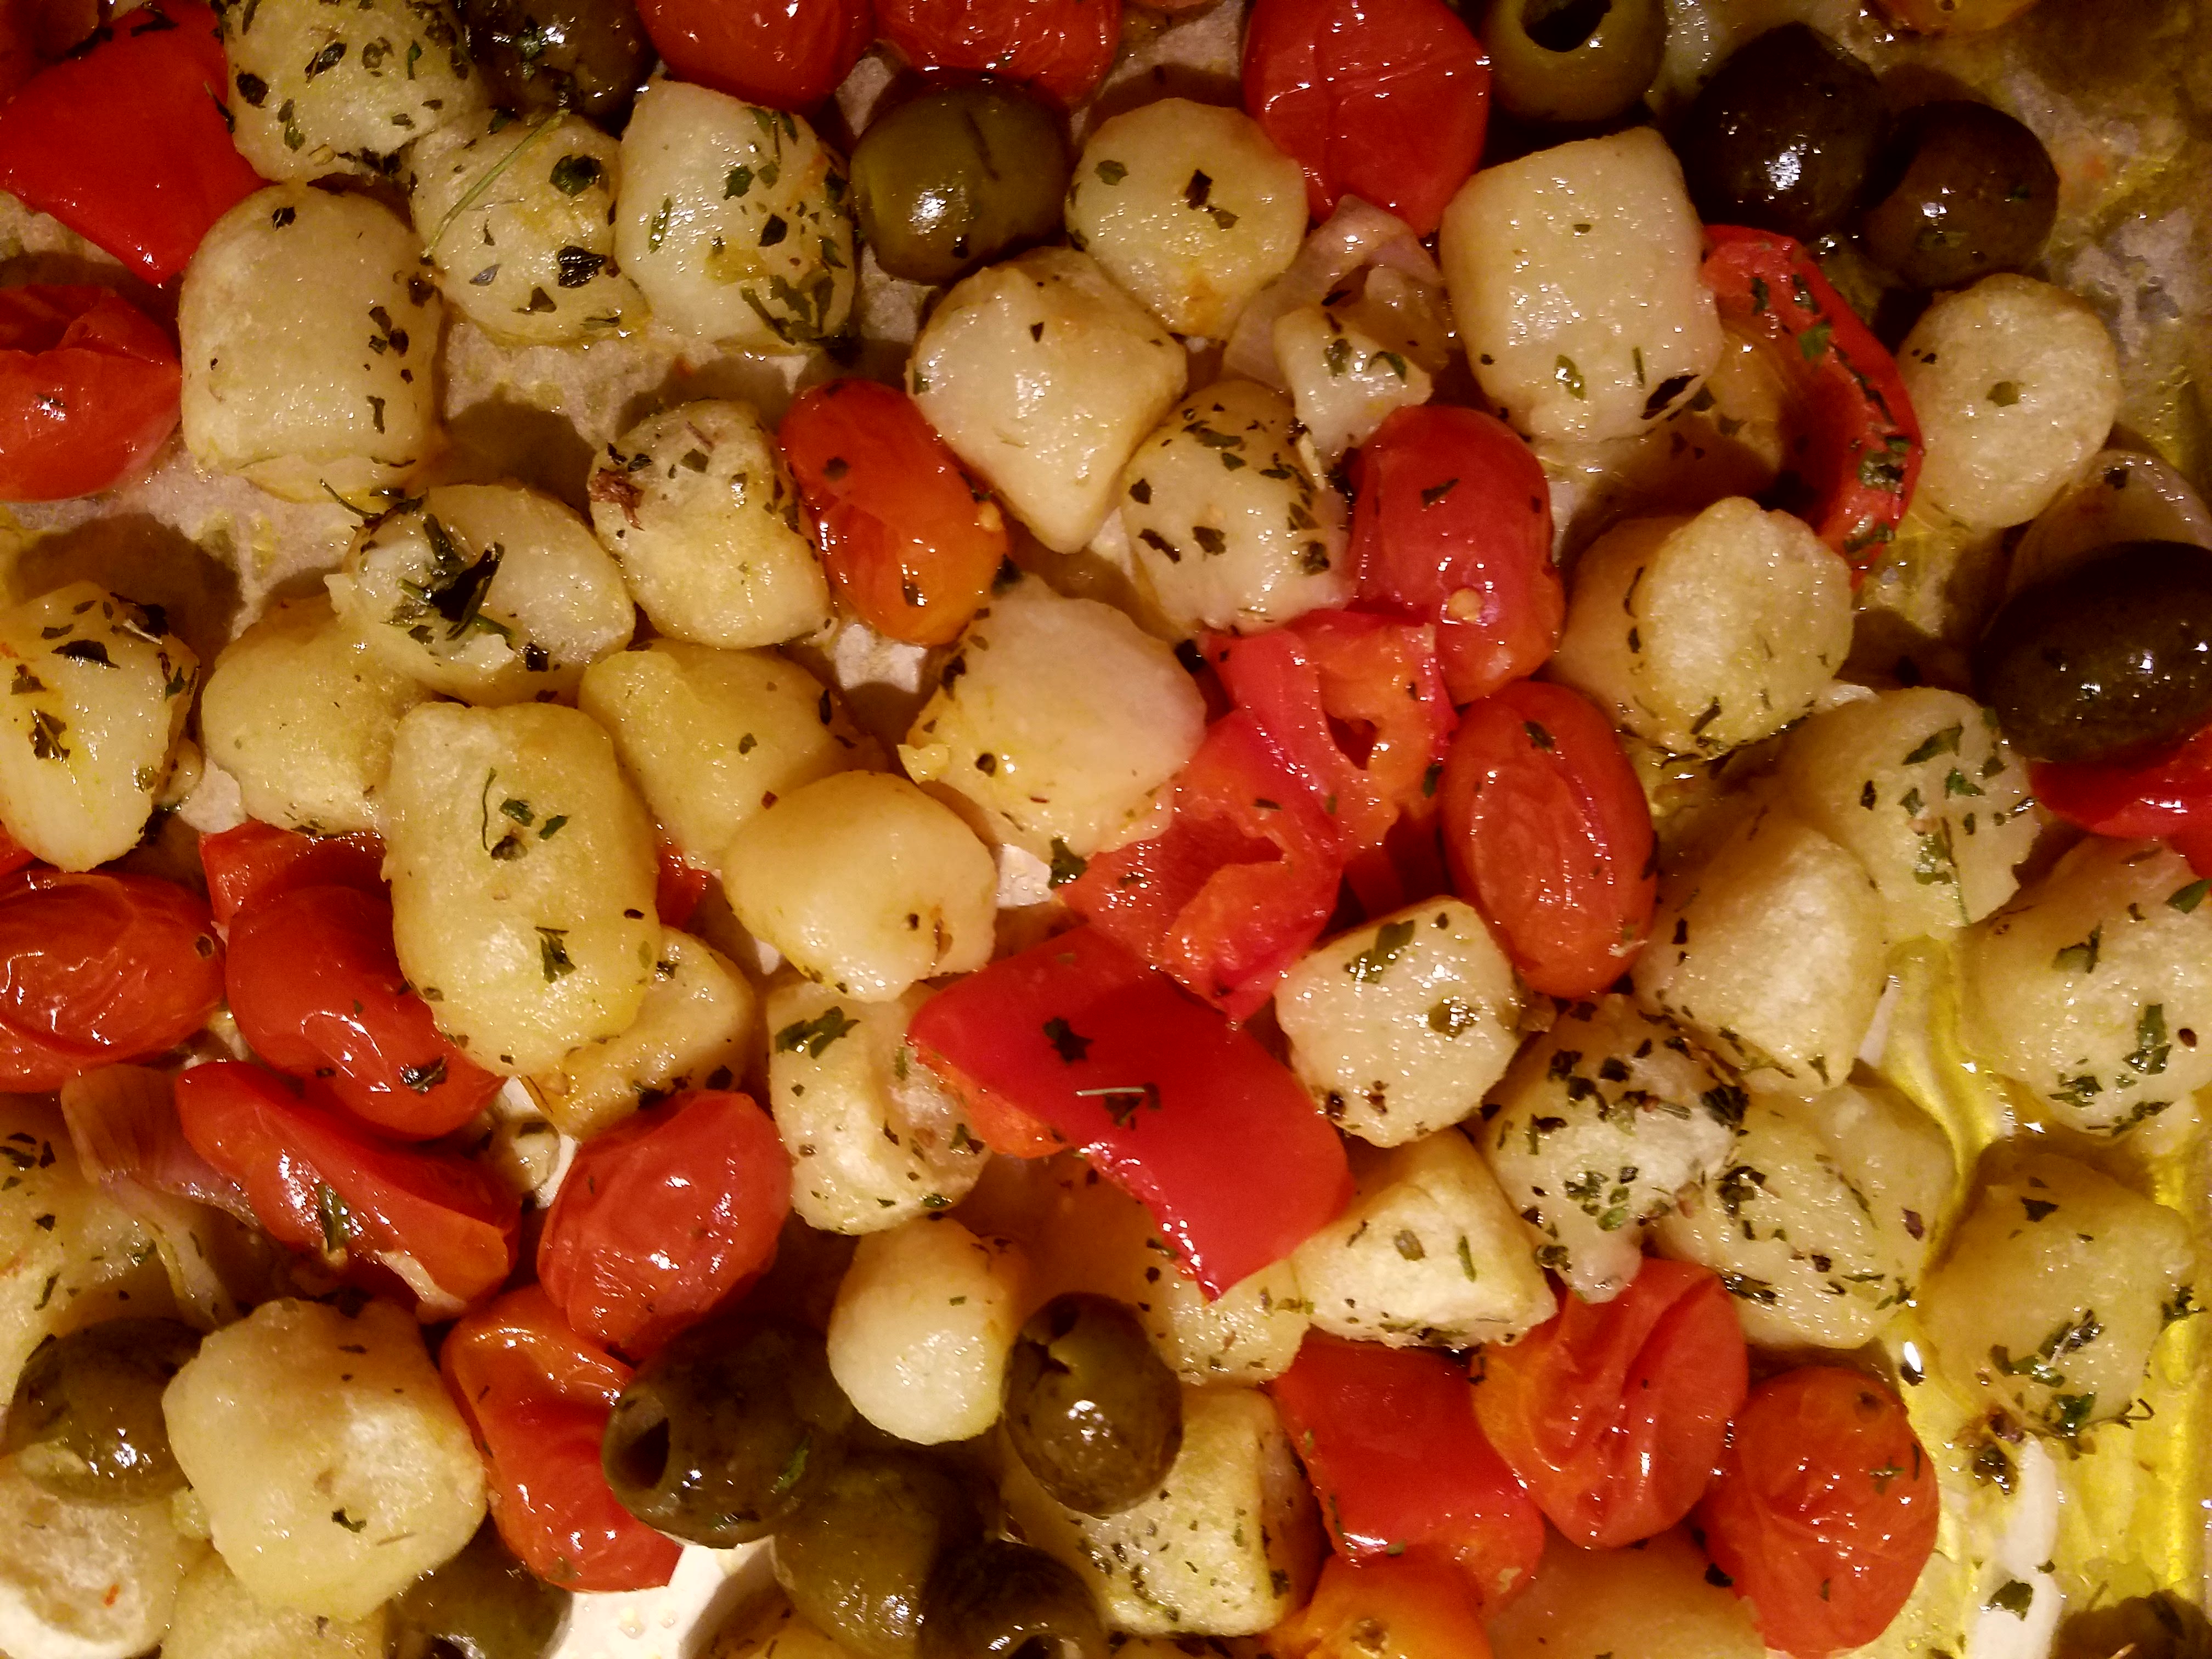
I’ve been loving the Trader Joe’s Cauliflower Gnocchi since it came out! I was often one of those annoying customers buying 10 bags at a time because it was sooo hard to find, and one of my daughters favorite easy meals!  I’d often follow the directions on the package steaming them a bit and sauteeing in ghee, which tasted yummy, but then I’d have to make another dish (and dirty another pan) to get some veggies in there.  I decided to change it up and was inspired by this recipe.  Making the gnocchi on a sheet pan cuts the prep time and only dirties 1 pan! 2 bags Trader Joe’s Frozen Cauliflower Gnocchi 1 red bell paper, diced 1 pint grape tomatoes 6oz olives (I used green canned from Trader Joe’s but Kalamata would taste good too!) 1 shallot, sliced 2 cloves of garlic, pressed 1 tsp dried basil 1 tsp dried parsley salt and pepper to taste 2 tbsp avocado Oil 1. Preheat oven to 425F. Line a large baking sheet with parchment paper (I use this unbleached parchment paper).  Drizzle with avocado oil (Avocado oil is safe for high smoke points). 2. Spread the gnocchi, bell paper, tomatoes, olives and shallot (or onion) on the pan.  Press garlic on top. 3. Use 2 large spoons or your hands to mix everything together.  Sprinkle with some salt and pepper, basil and parsley. 4. Place in oven for 15 minutes.  Remove from oven, stir, and place back in for another 15 minutes. Serve with some grated parmesan or even feta cheese for an extra bite! *This post may contain affiliate links.*

Cheddar Stuffed Apple Turkey Burgers


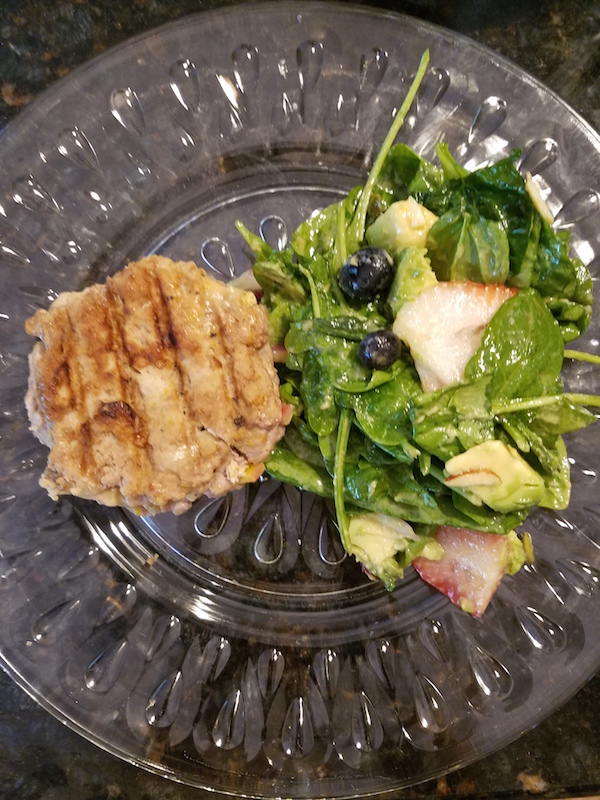
Dinner time is always a struggle at my house.  Although my girls eat a lot of different foods, they both don’t always agree on what they like.  When it comes to turkey, the little one loves a Turkey Apple Picadillo recipe I make, meanwhile my older one will only eat plain turkey burgers.  I decided tonight to change it up and made apple turkey burgers stuffed with a Rumiano lactose free organic cheddar.


This was only my 2nd time using my Victoria cast iron grill pan (non-gmo flaxseed seasoned!), but I love it!


I served the burgers with steamed sweet potatoes (24 min on manual in the Instant Pot), and a strawberry spinach salad.

Ingredients
2 organic apples, finely diced
1 lb organic ground turkey
2 tsp organic Dijon mustard
1tsp organic turmeric
1/2 tsp salt
1/4 tsp black pepper
1/4 tsp garlic powder
1/4 tsp minced onion
1/2 cup diced organic Rumiano lactose free sharp cheddar
Avocado oil for the pan

Yields 5 medium burgers

Directions
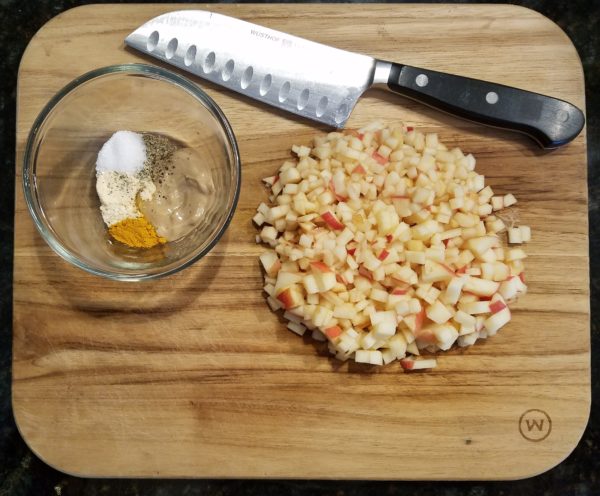
1. Finely dice the apples and place in a bowl.  Dice the cheddar cheese and set aside.
2. In the bowl with the apples, add the ground turkey, dijon, turmeric, salt, pepper, garlic powder, and minced onion.
3. Gently mix the ingredients and form a patty slightly smaller than you normally would.
4. Heat up the oil in your cast iron pan.
5. Take a small handful of the cheddar cubes and place in the middle of the burger.  Add a small amount of meat mixture to the top of the cheese to completely close off the cheese from the outside of the burger.  Place in pan.
6. Cook the burgers until 165°F, flipping them over once in the process.

This post contains affiliate links.

Organizing the Playroom

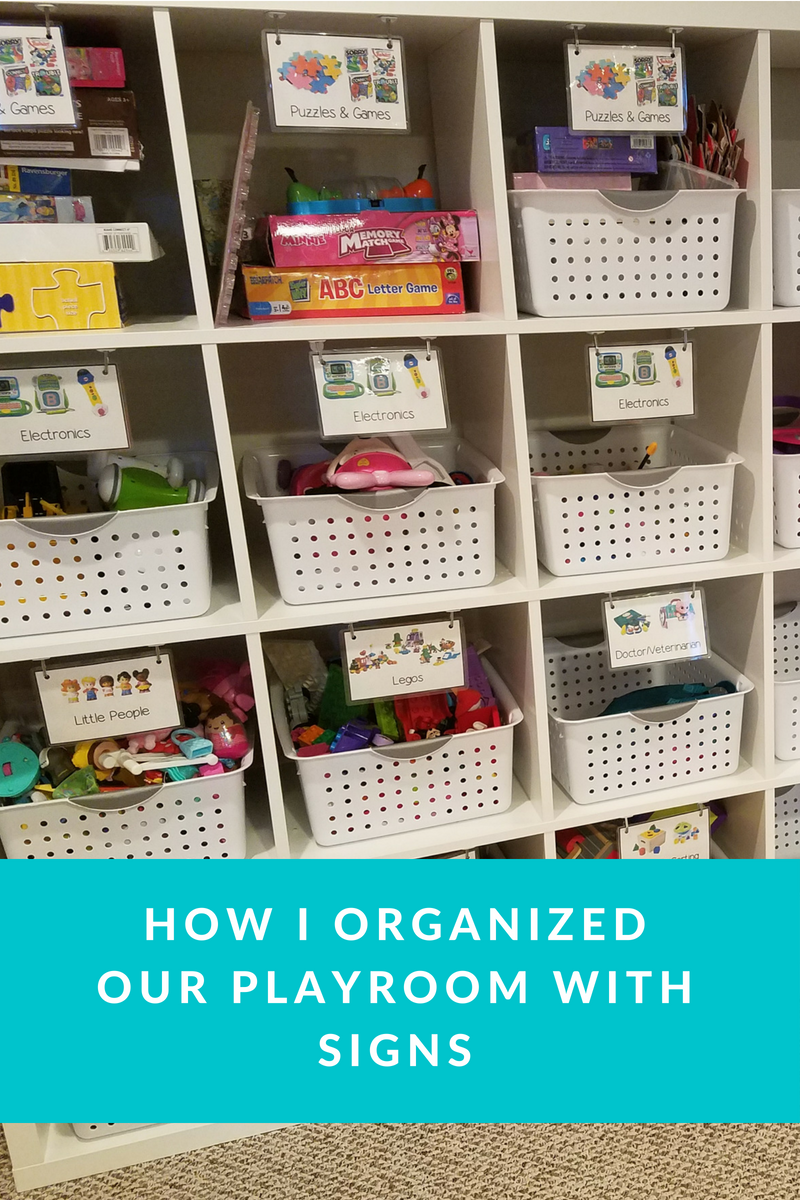
When we moved, we decided to reorganize the toys.  We got rid of the organizers that didn’t work for us, and went to Ikea and purchased shelves from the Kallax series.  I purchased baskets that let the kids see inside, so they knew where their toys were, however I wanted to go a step further and label the shelves.

I used Adobe Photoshop to create labels, and Illustrator to print them together on a 8.5″x11″ on my home printer.

I used a paper cutter to cut the signs out before laminating, so I’d have a clear border on the outside versus a white border if I laminated first and then cut.
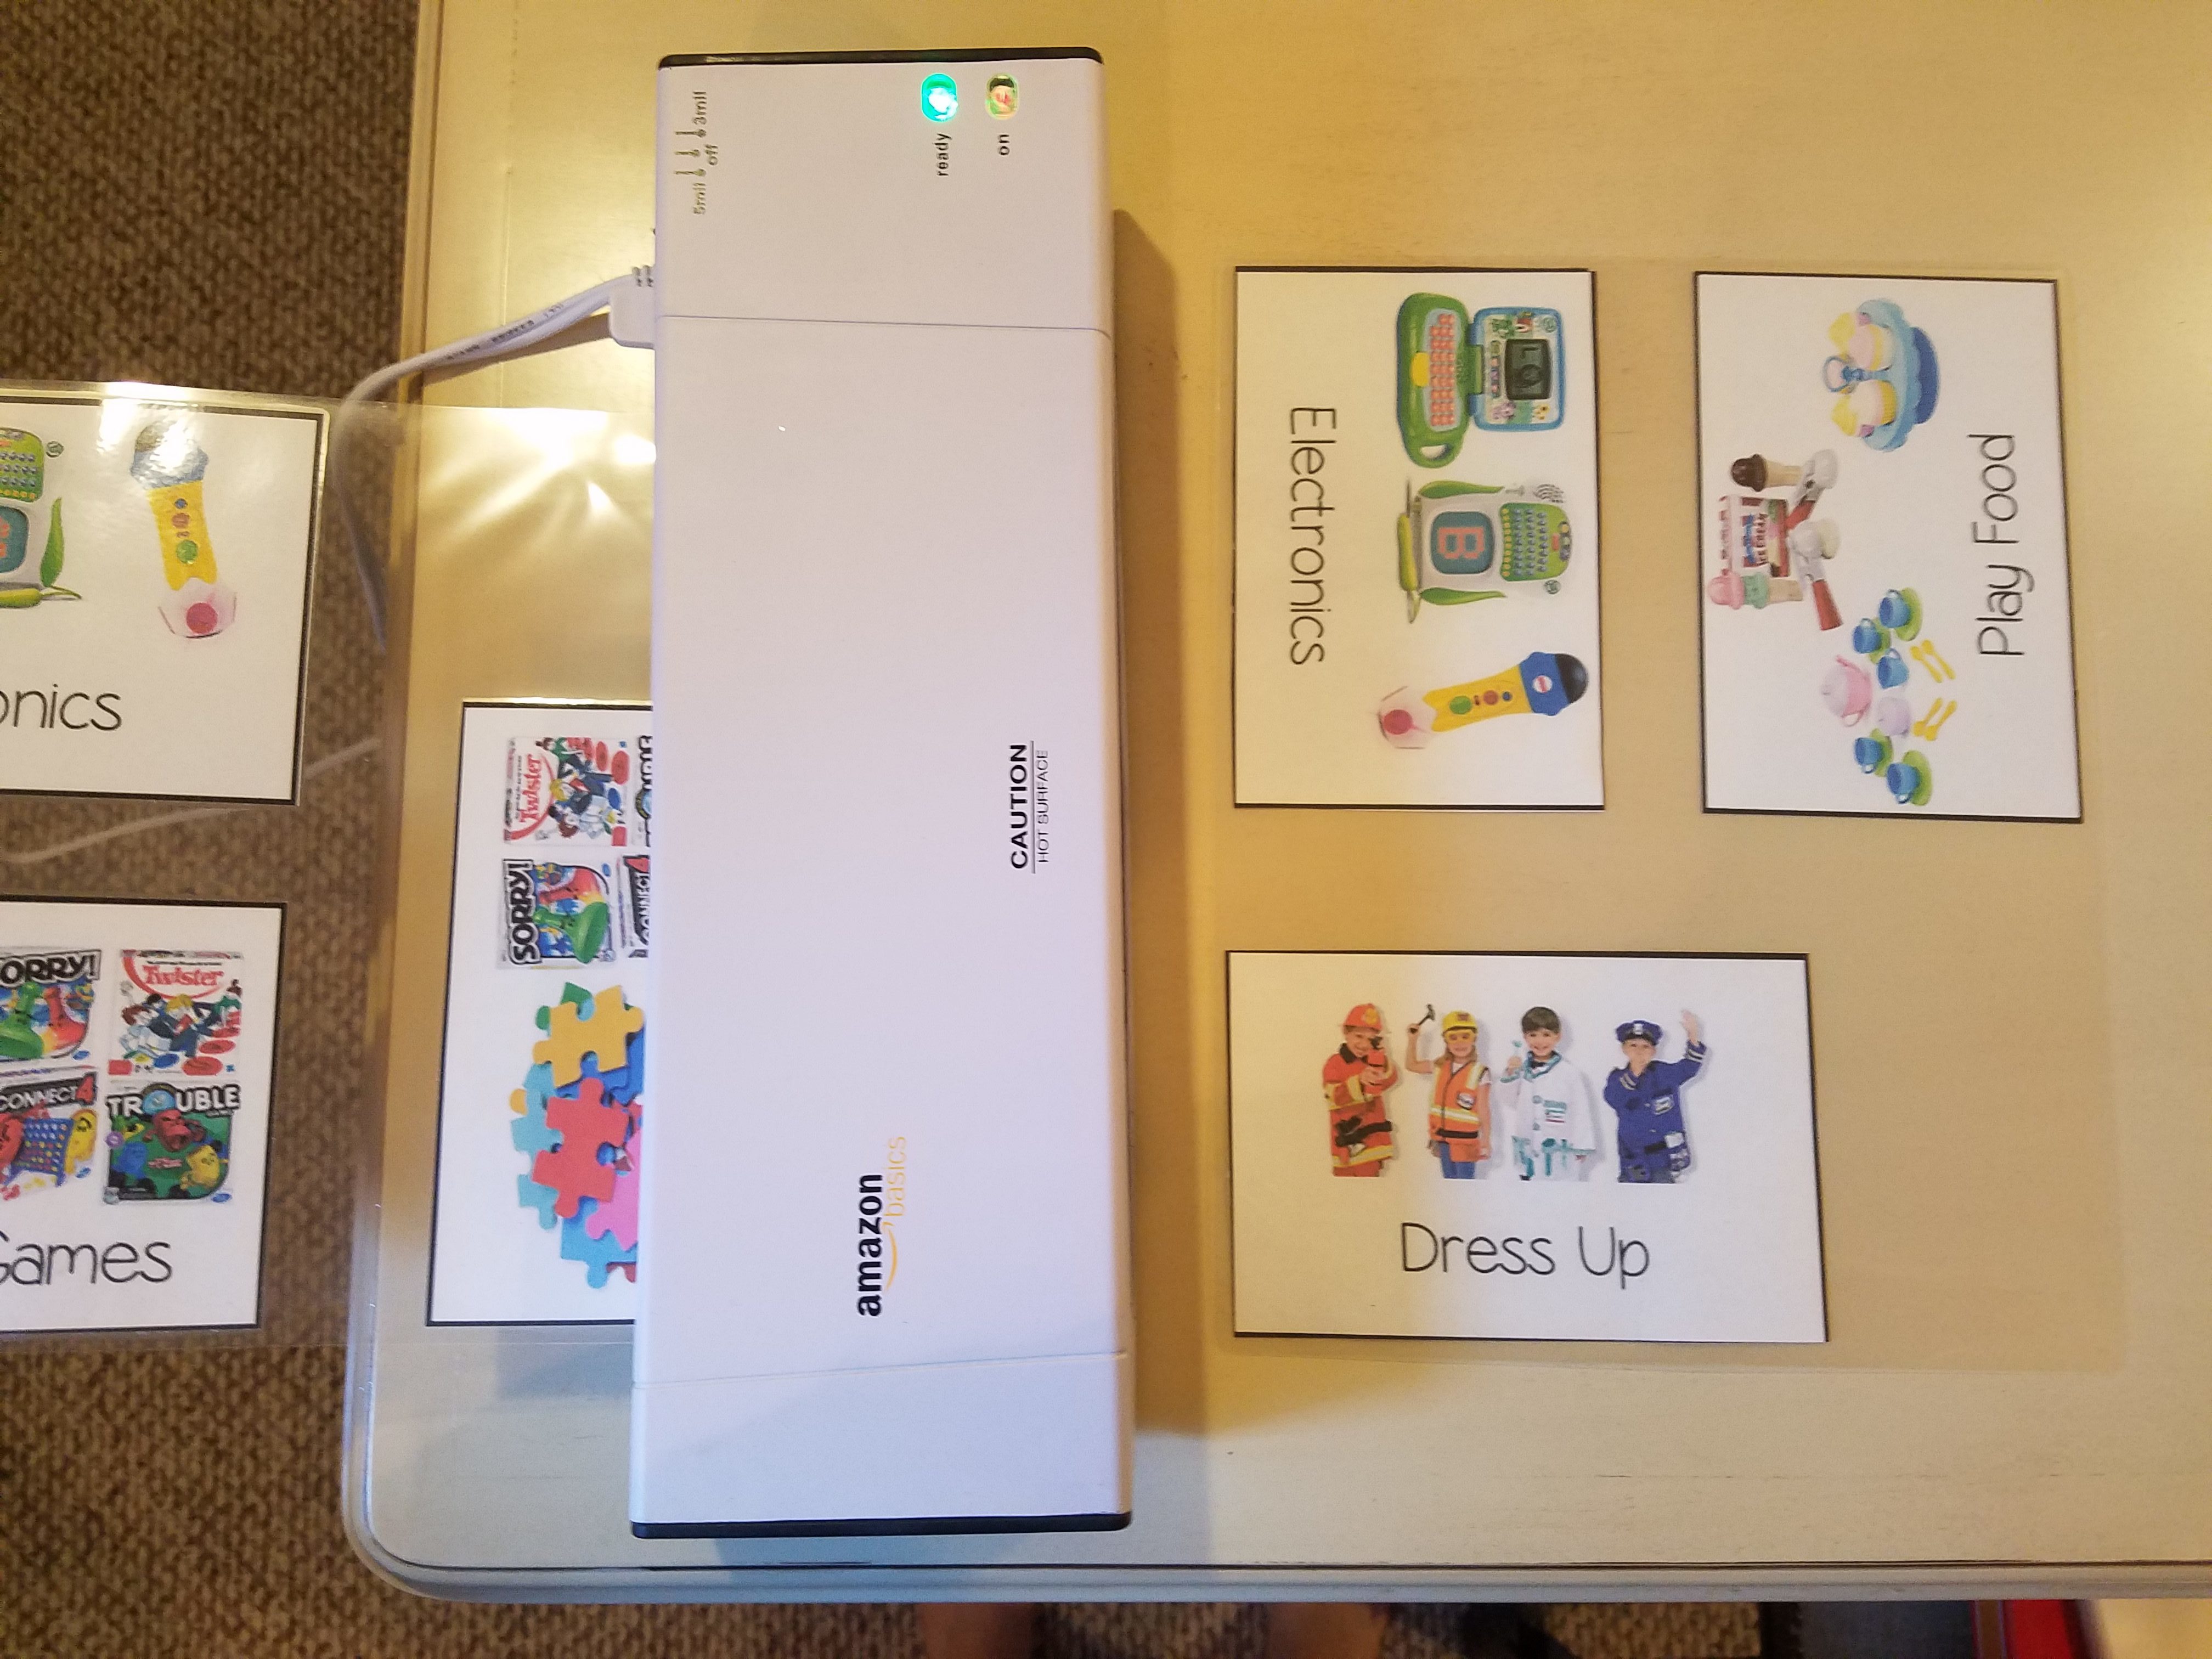
I then used my laminator I purchased on Amazon to laminate 3 signs at a time (I made them 4″x6″, so 3 fit in 1 laminating sheet.)
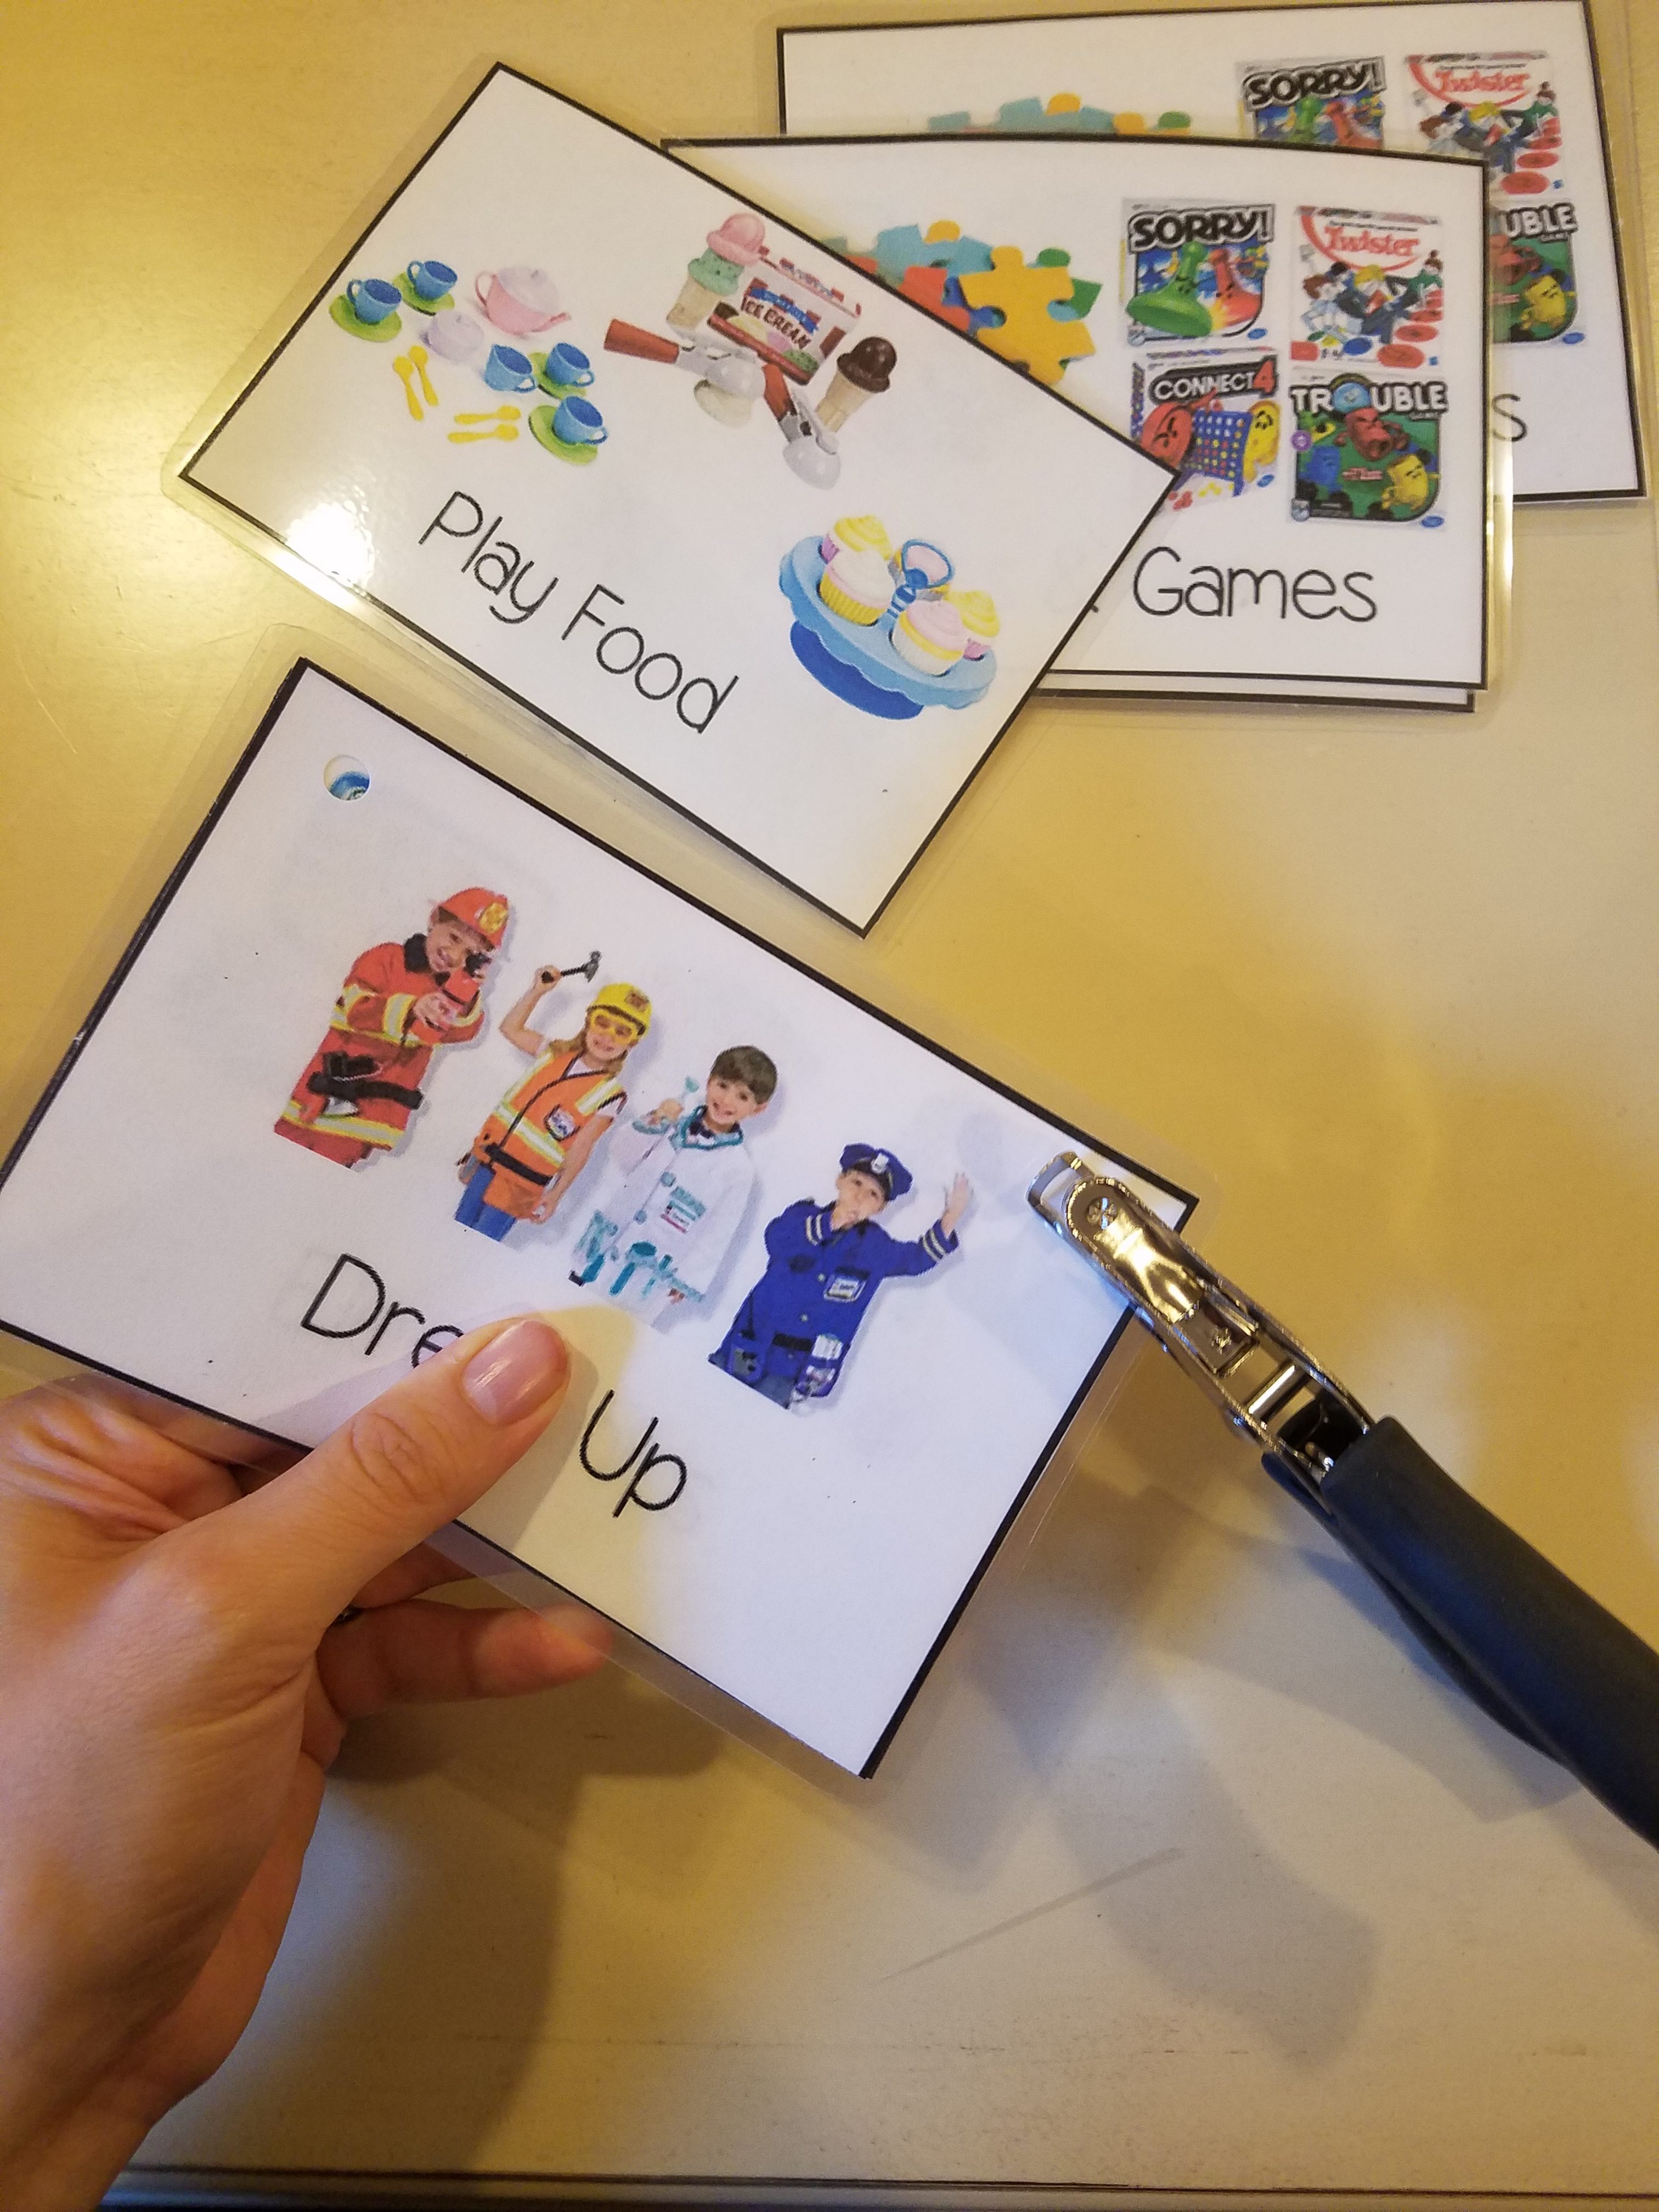
Once I completed laminating, I punched holes on the top of the signs and used the first one I did as a template.  A regular hole puncher will punch through the laminated sheet.  I tried to make them all uniform so I could switch around the signs if I needed to.


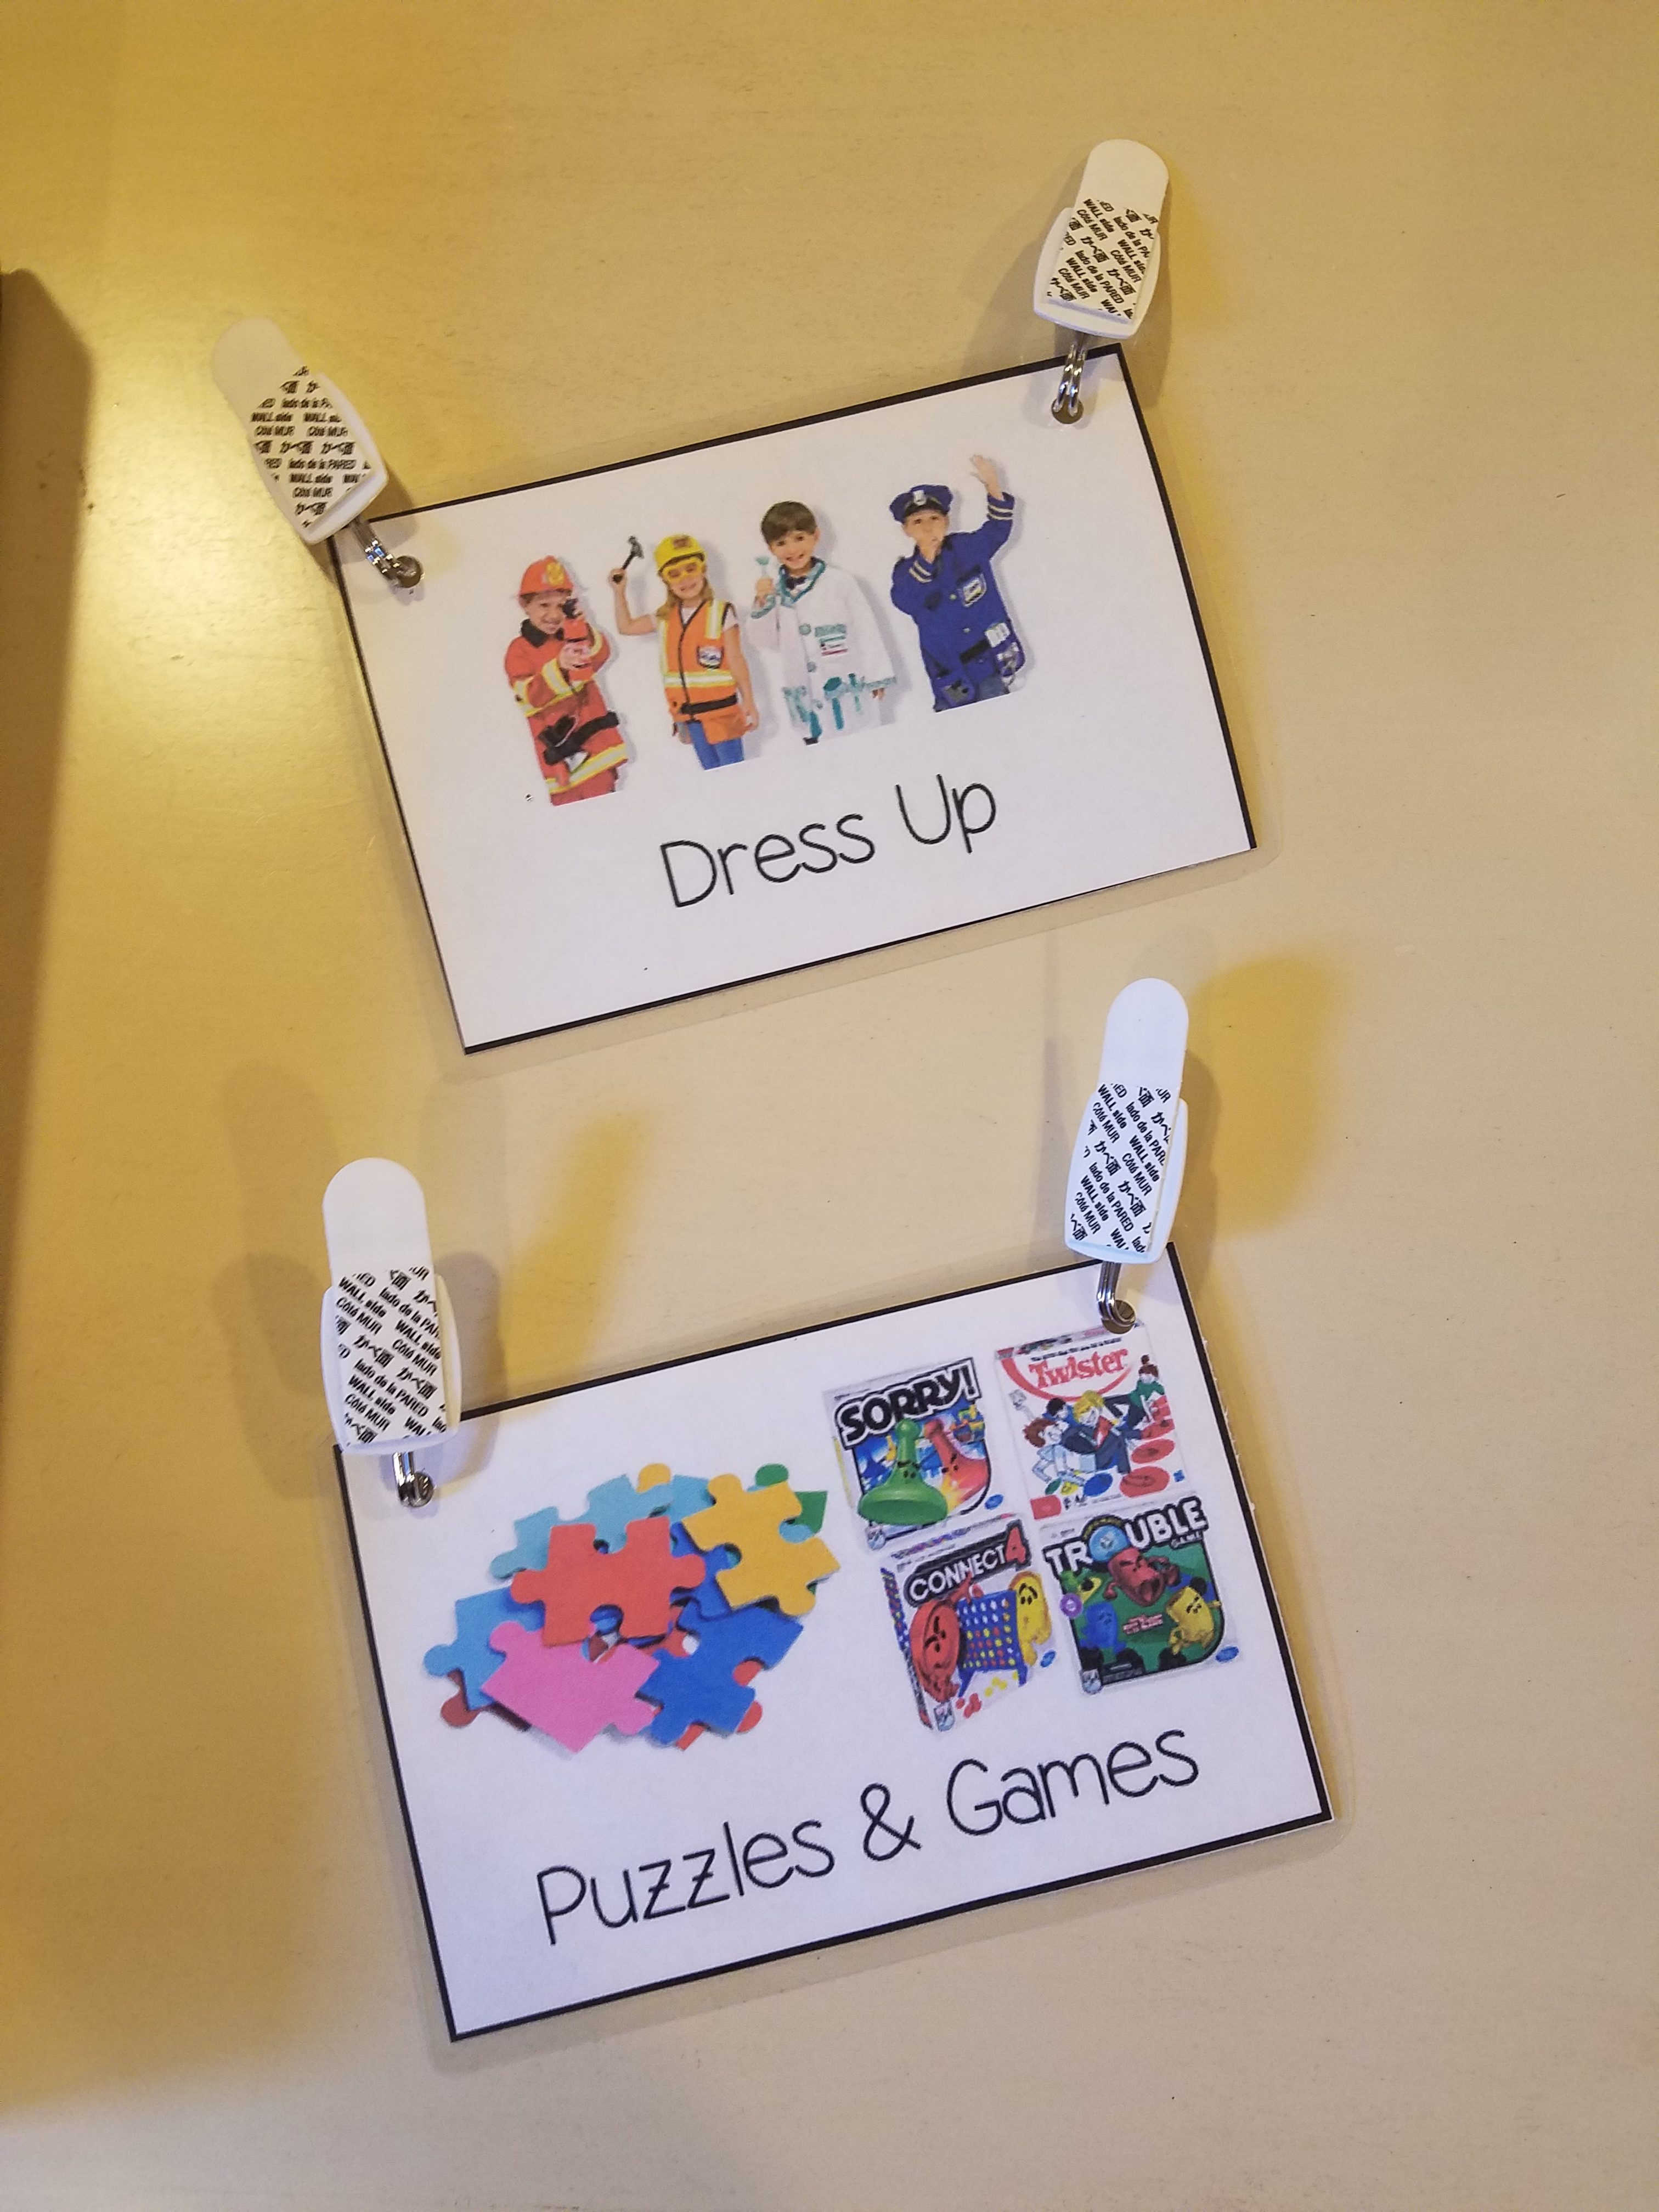
I then placed the Command Hooks (we squeezed the metal part closed tighter with pliers) into the punched out holes, and placed the command strip on the hook.


I then removed the adhesive from the top of the command strips and placed them on the shelf.The signs helped organize our toys so nicely, that we ended up having 3 empty bins!

What I used to create this organized play space:

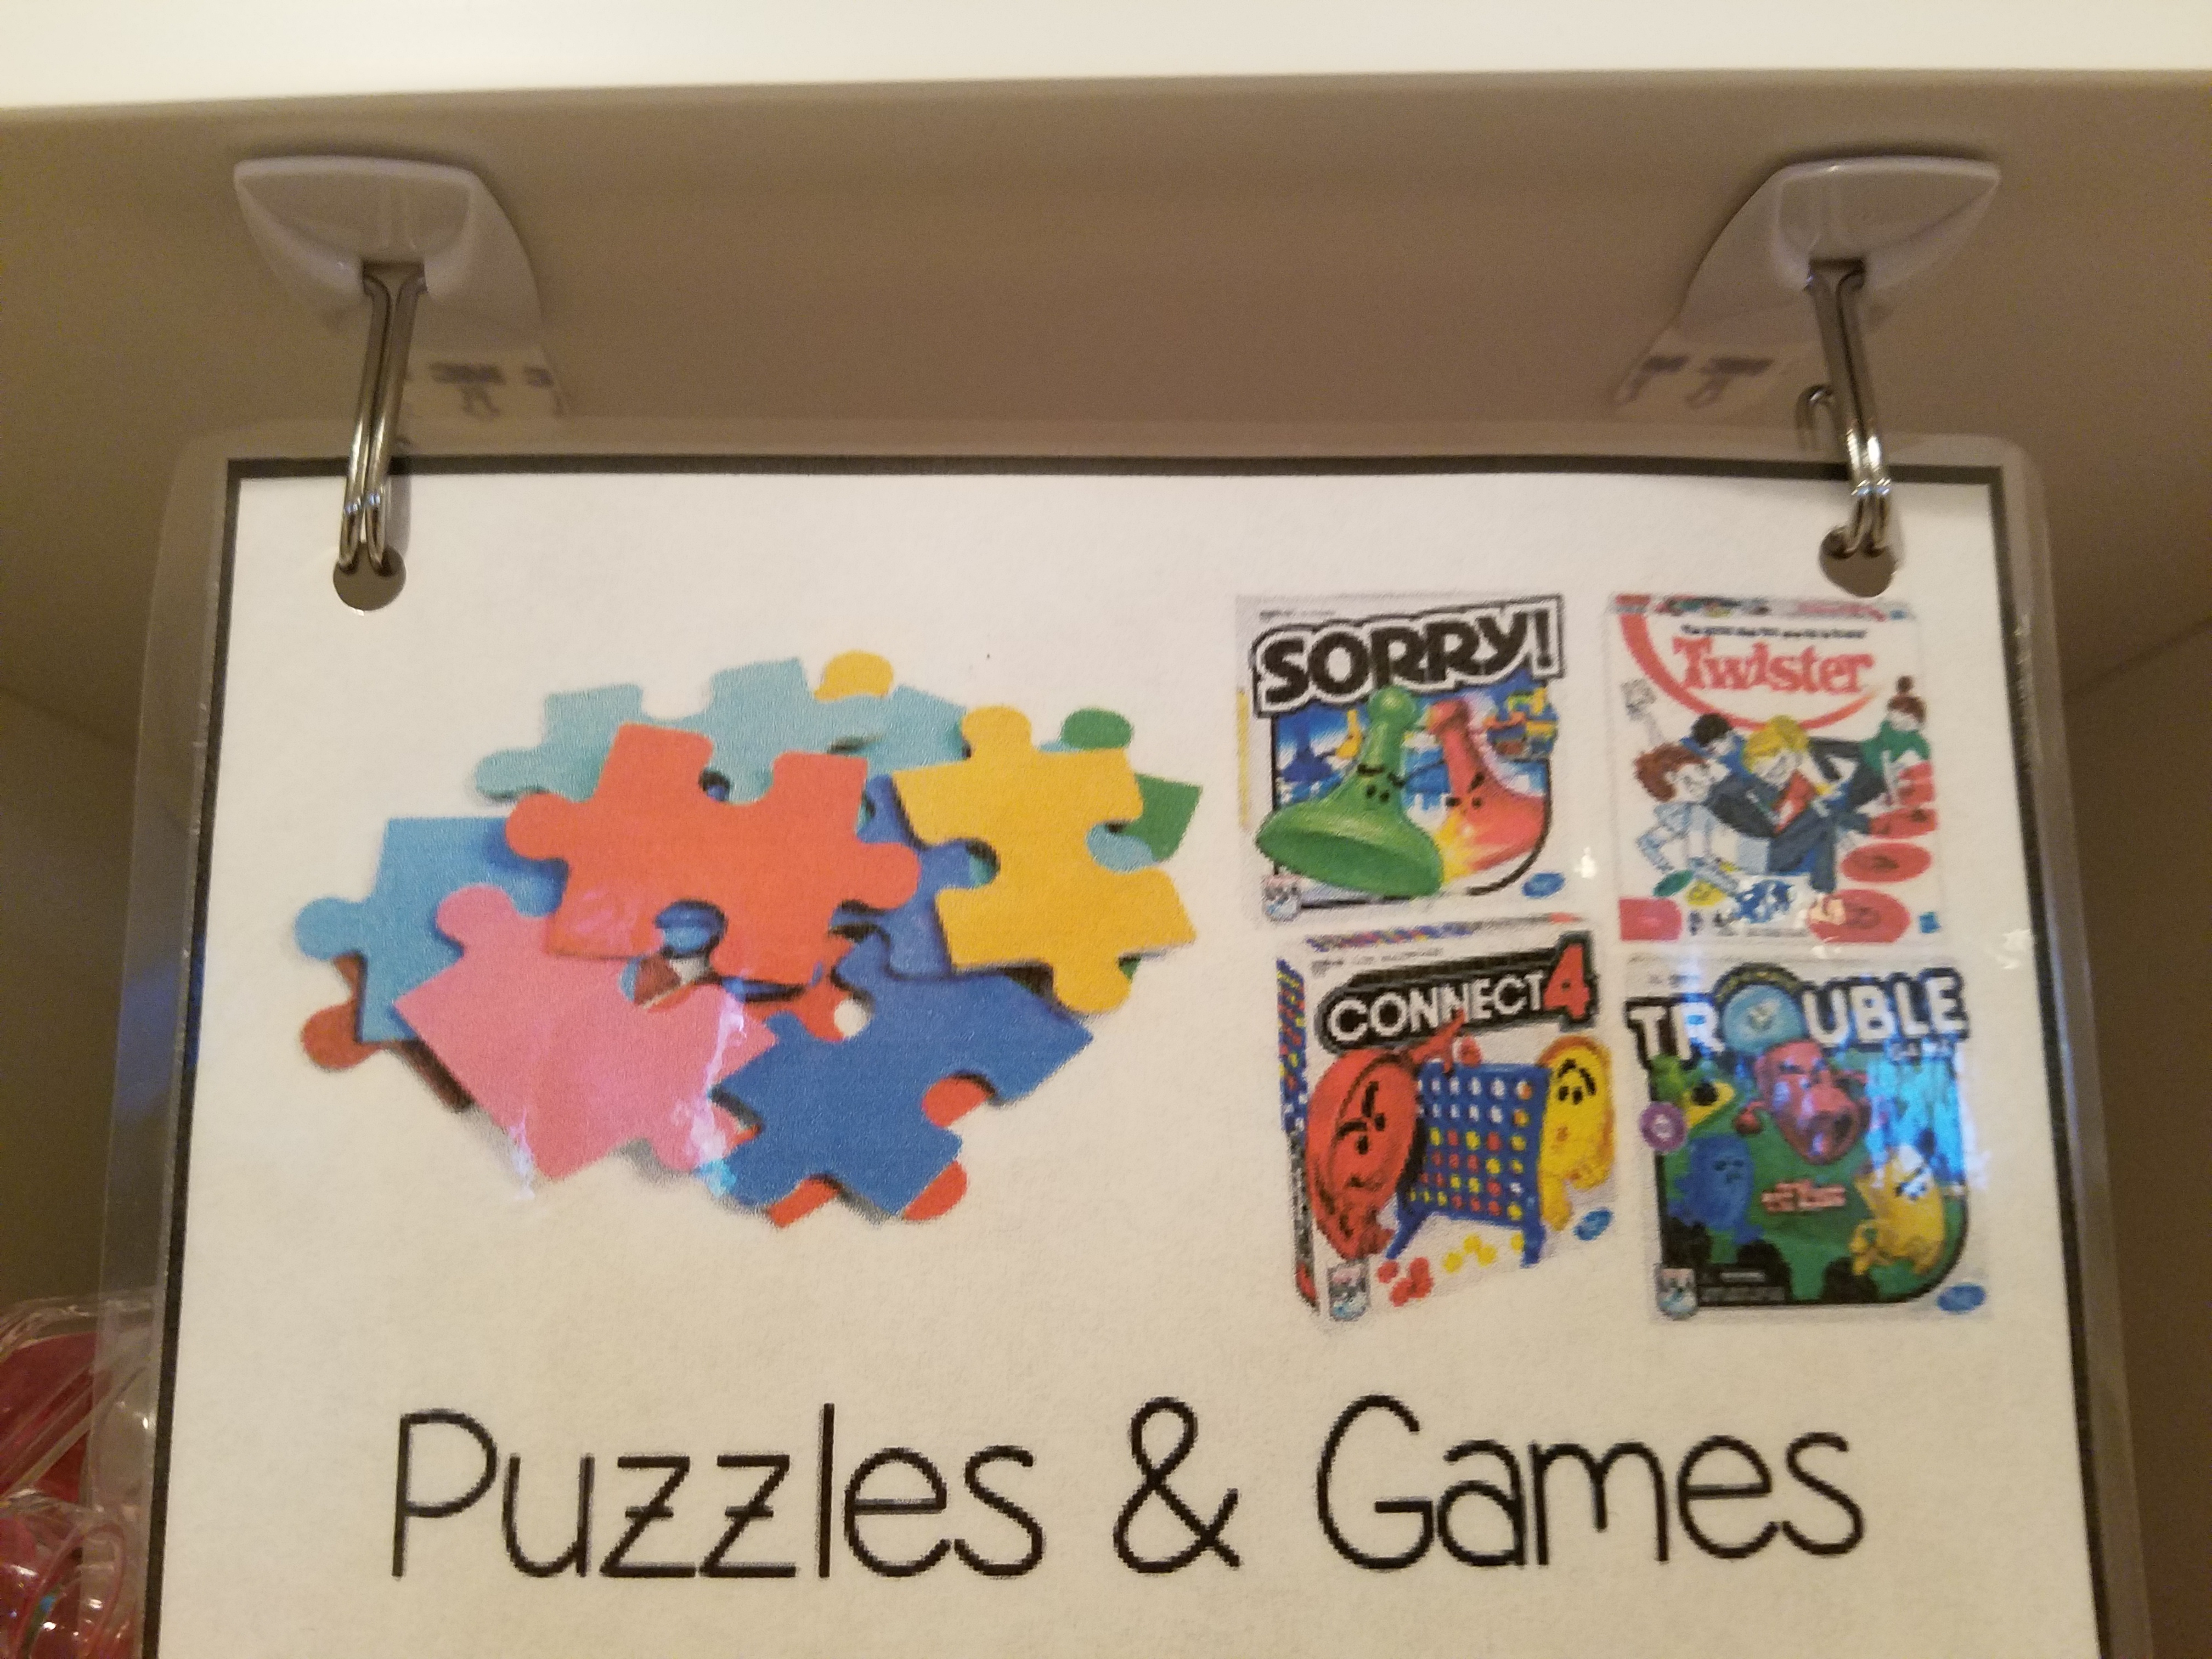
I put the puzzles and games up higher so my kids have to ask to take them out, versus having everything taken down and opened by them all at once.  The heavier bins I put on the bottom so they only need to slide them out.

This post contains affiliate links.

Why I chose the Vitamix 780

THIS POST CONTAINS AFFILIATE LINKS

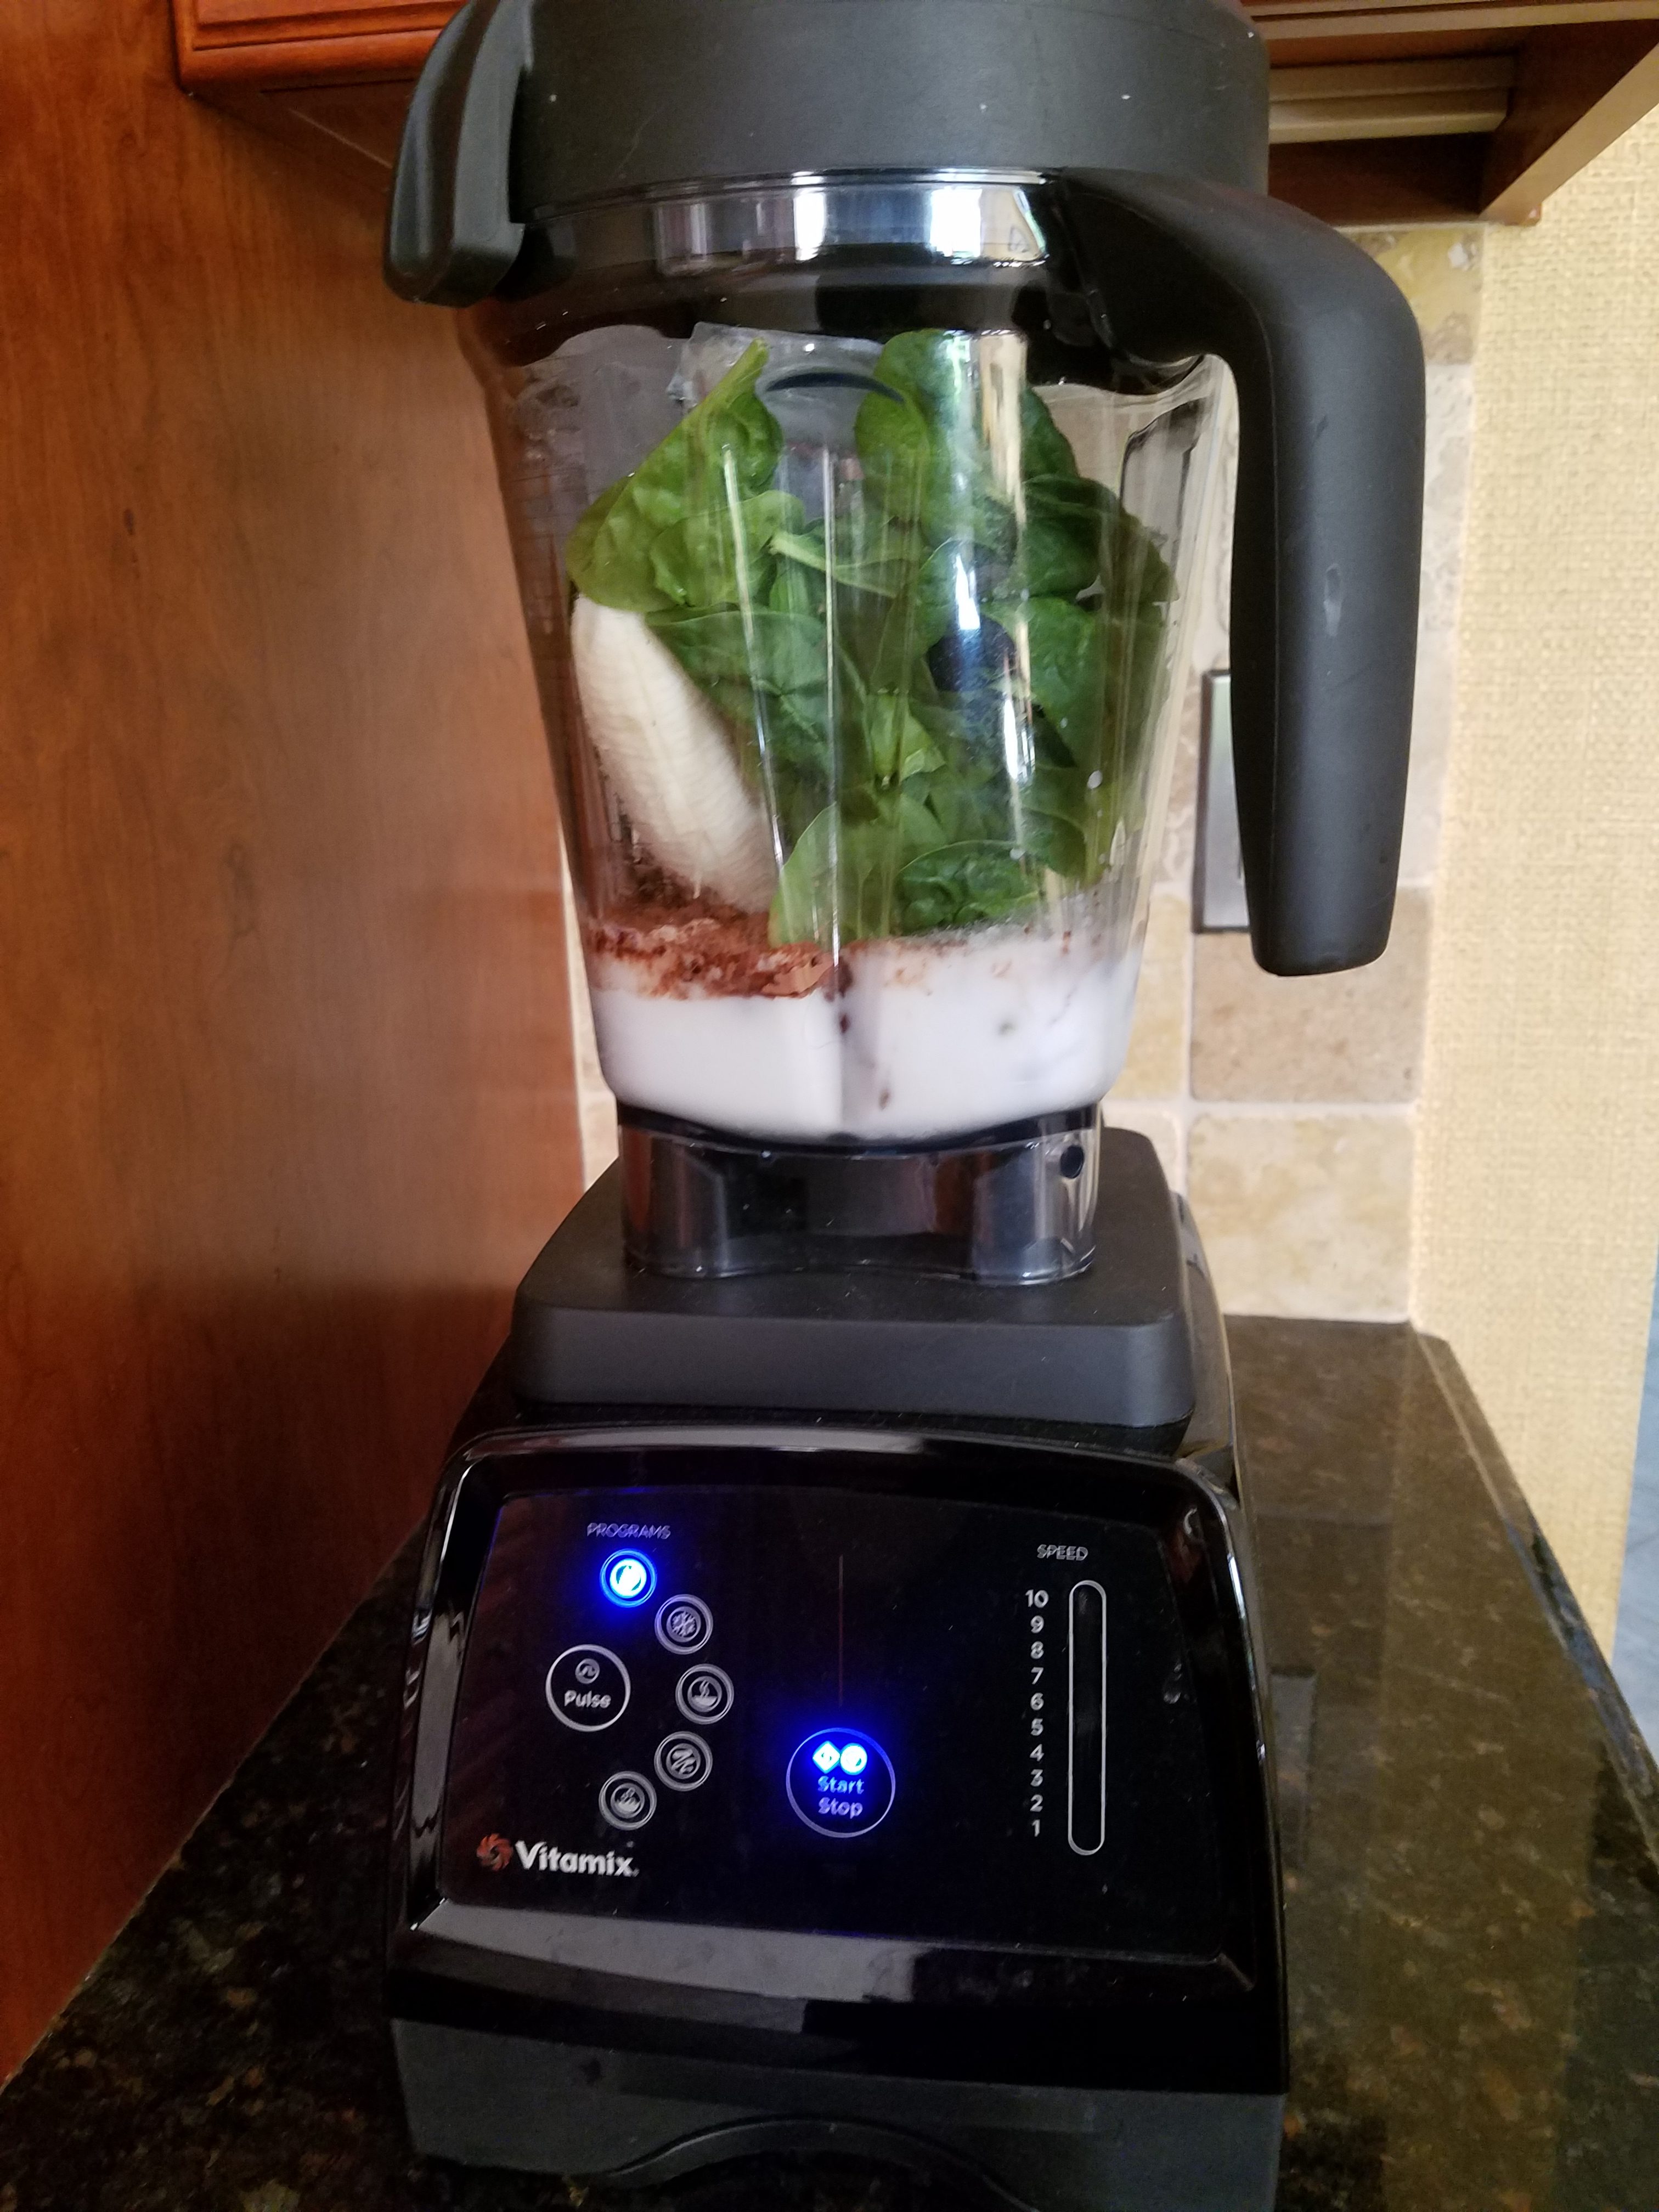
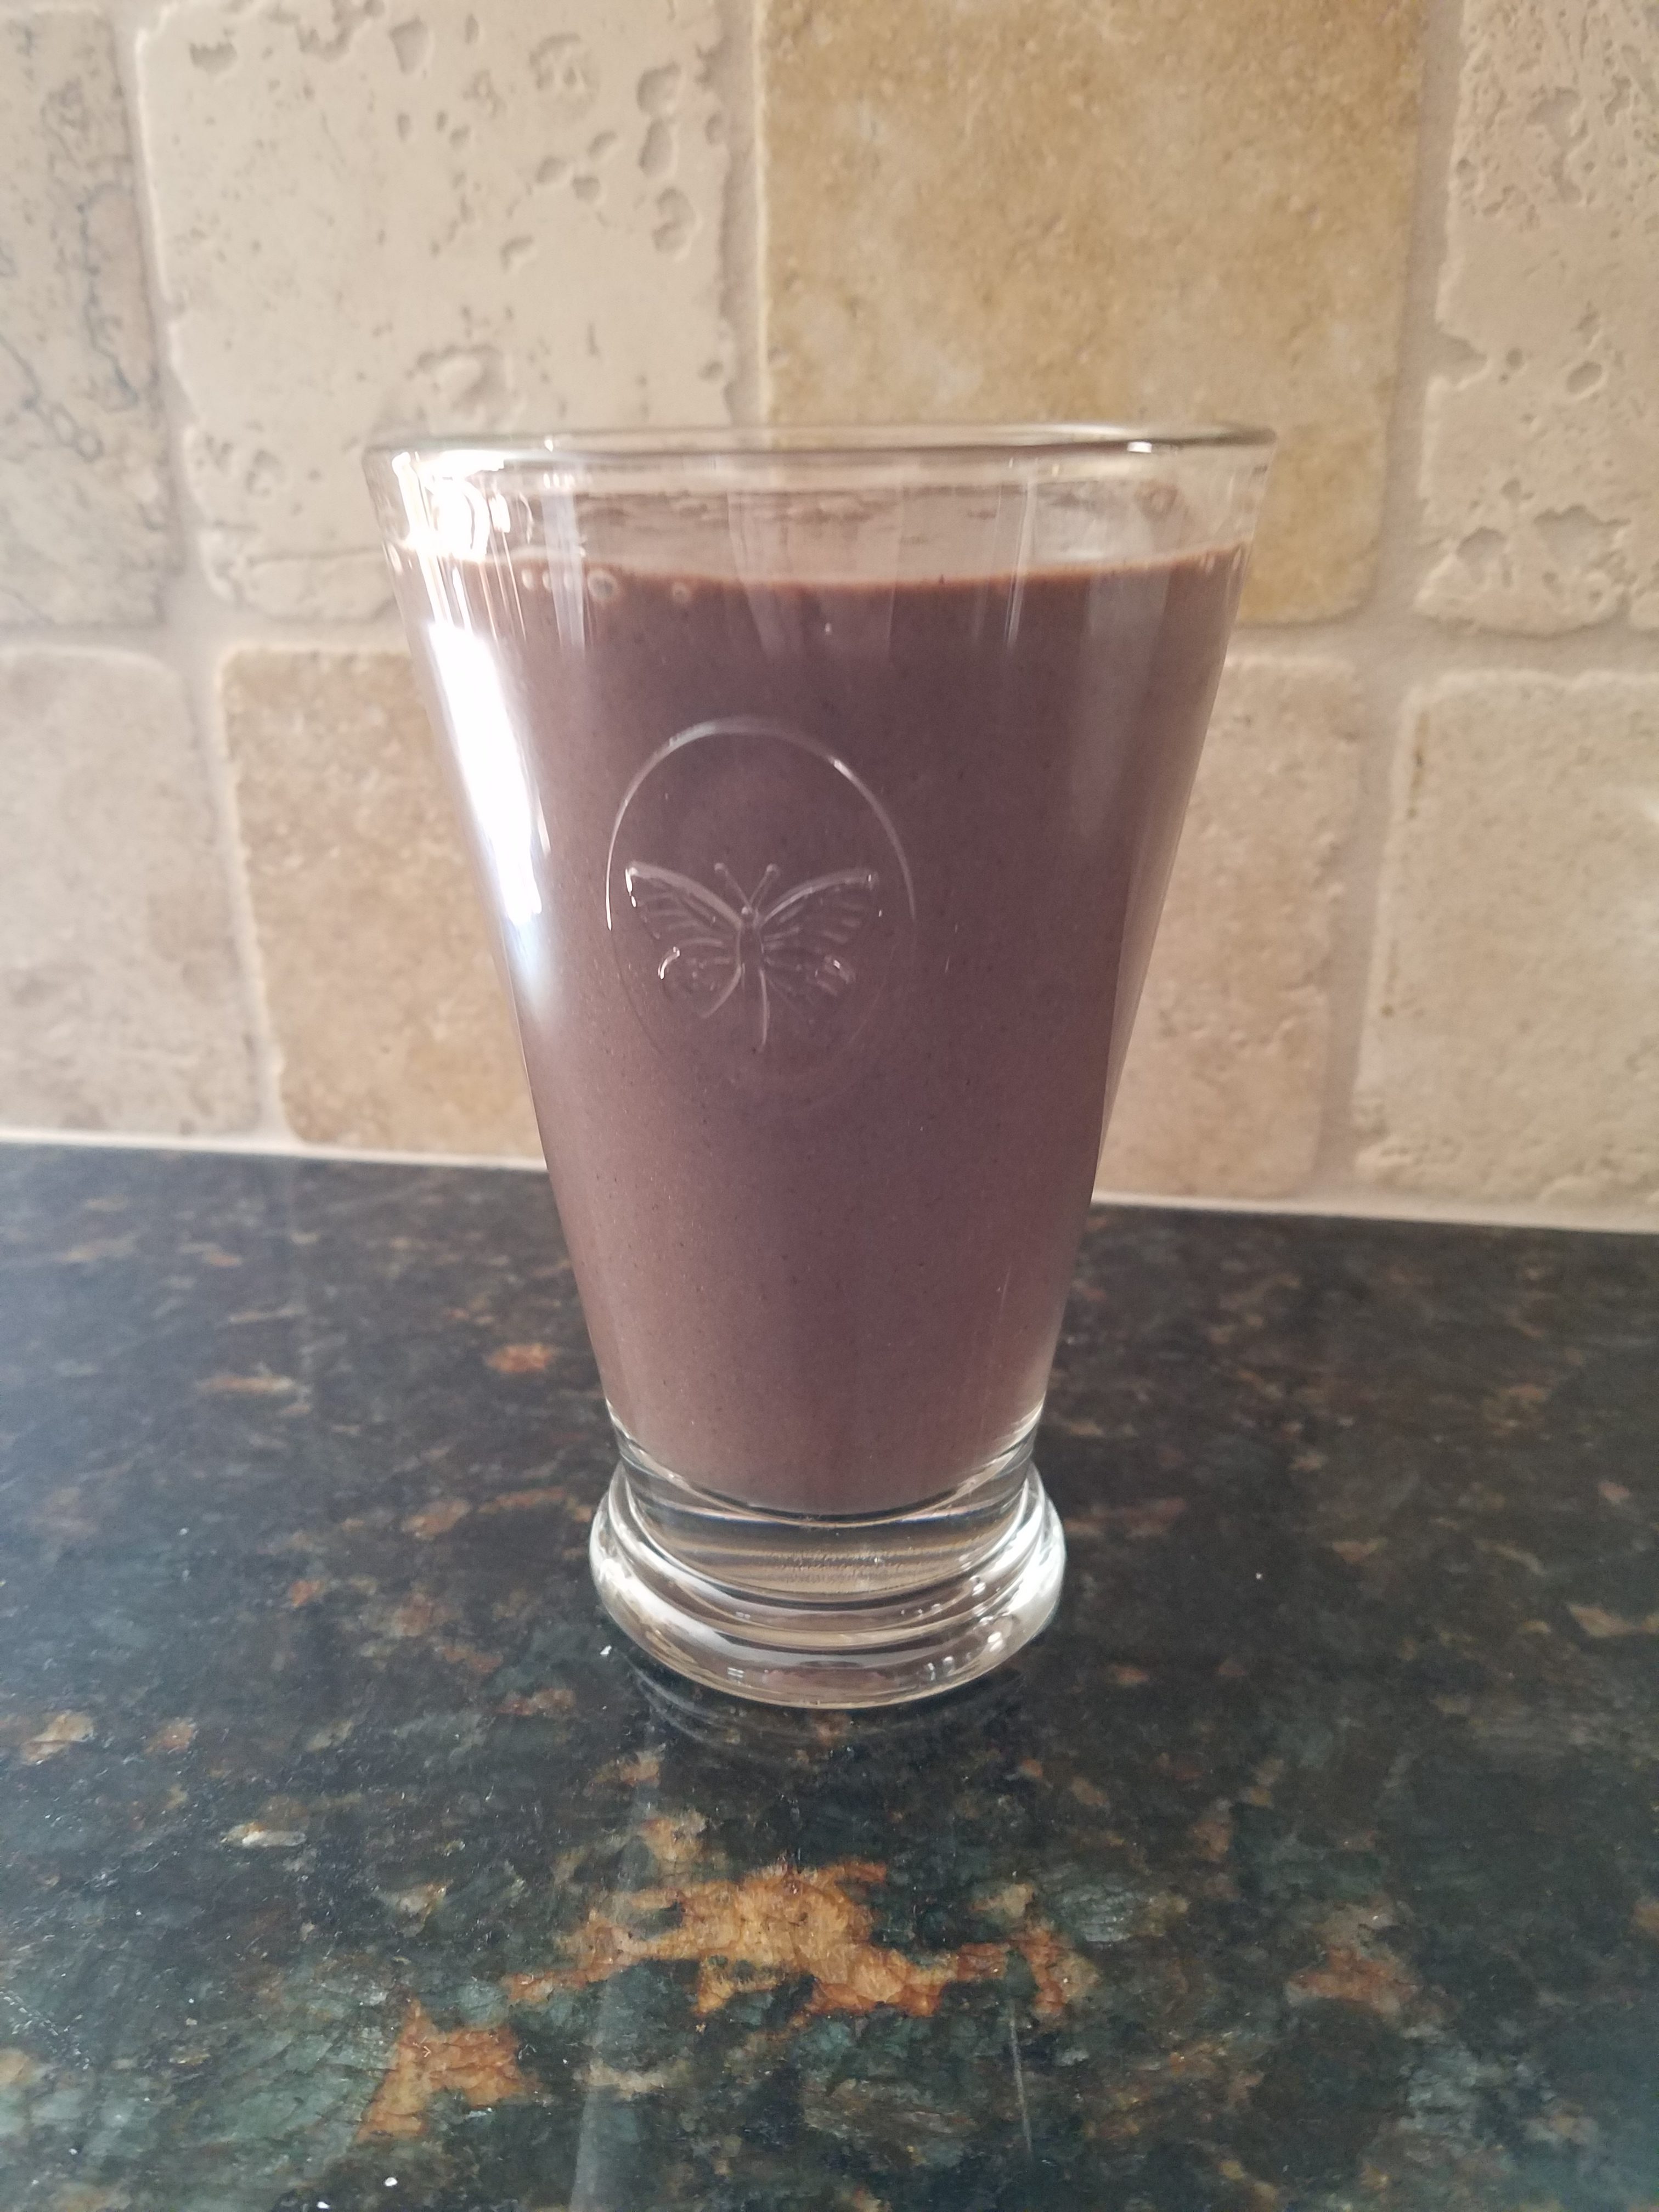
My absolute new favorite kitchen toy that is used everyday- sometimes multiple times a day, is my Vitamix Pro 780 Blender.  You see, when I was nursing both my girls, I used to make this amazing shake to help increase my milk.  It was a peanut butter banana shake that contained oatmeal and brewers yeast to help lactation.  However, I used to use a Cuisinart blender, and my smoothies usually consisted of chunks of bananas, ice, oatmeal pieces, and globs of peanut butter.  No matter how much I tried to blend the smoothie, it always came out chunky, and I never had enough time to figure it out with 1 or both screaming children.

Finally after 7 years, that blender broke.  I quietly did a happy dance, and told my husband that it was the perfect opportunity to buy a blender that would last a lot longer but also one that is much more powerful.  We now had 2 toddlers and although they do eat a lot of fruits and veggies, putting some in smoothies would also be an advantage of purchasing a high powered blender.

I did my research, and decided that a blender with preset options would be the best choice for our family.  Pressing a button and walking away until completed would conveniently let me multitask as I usually do.

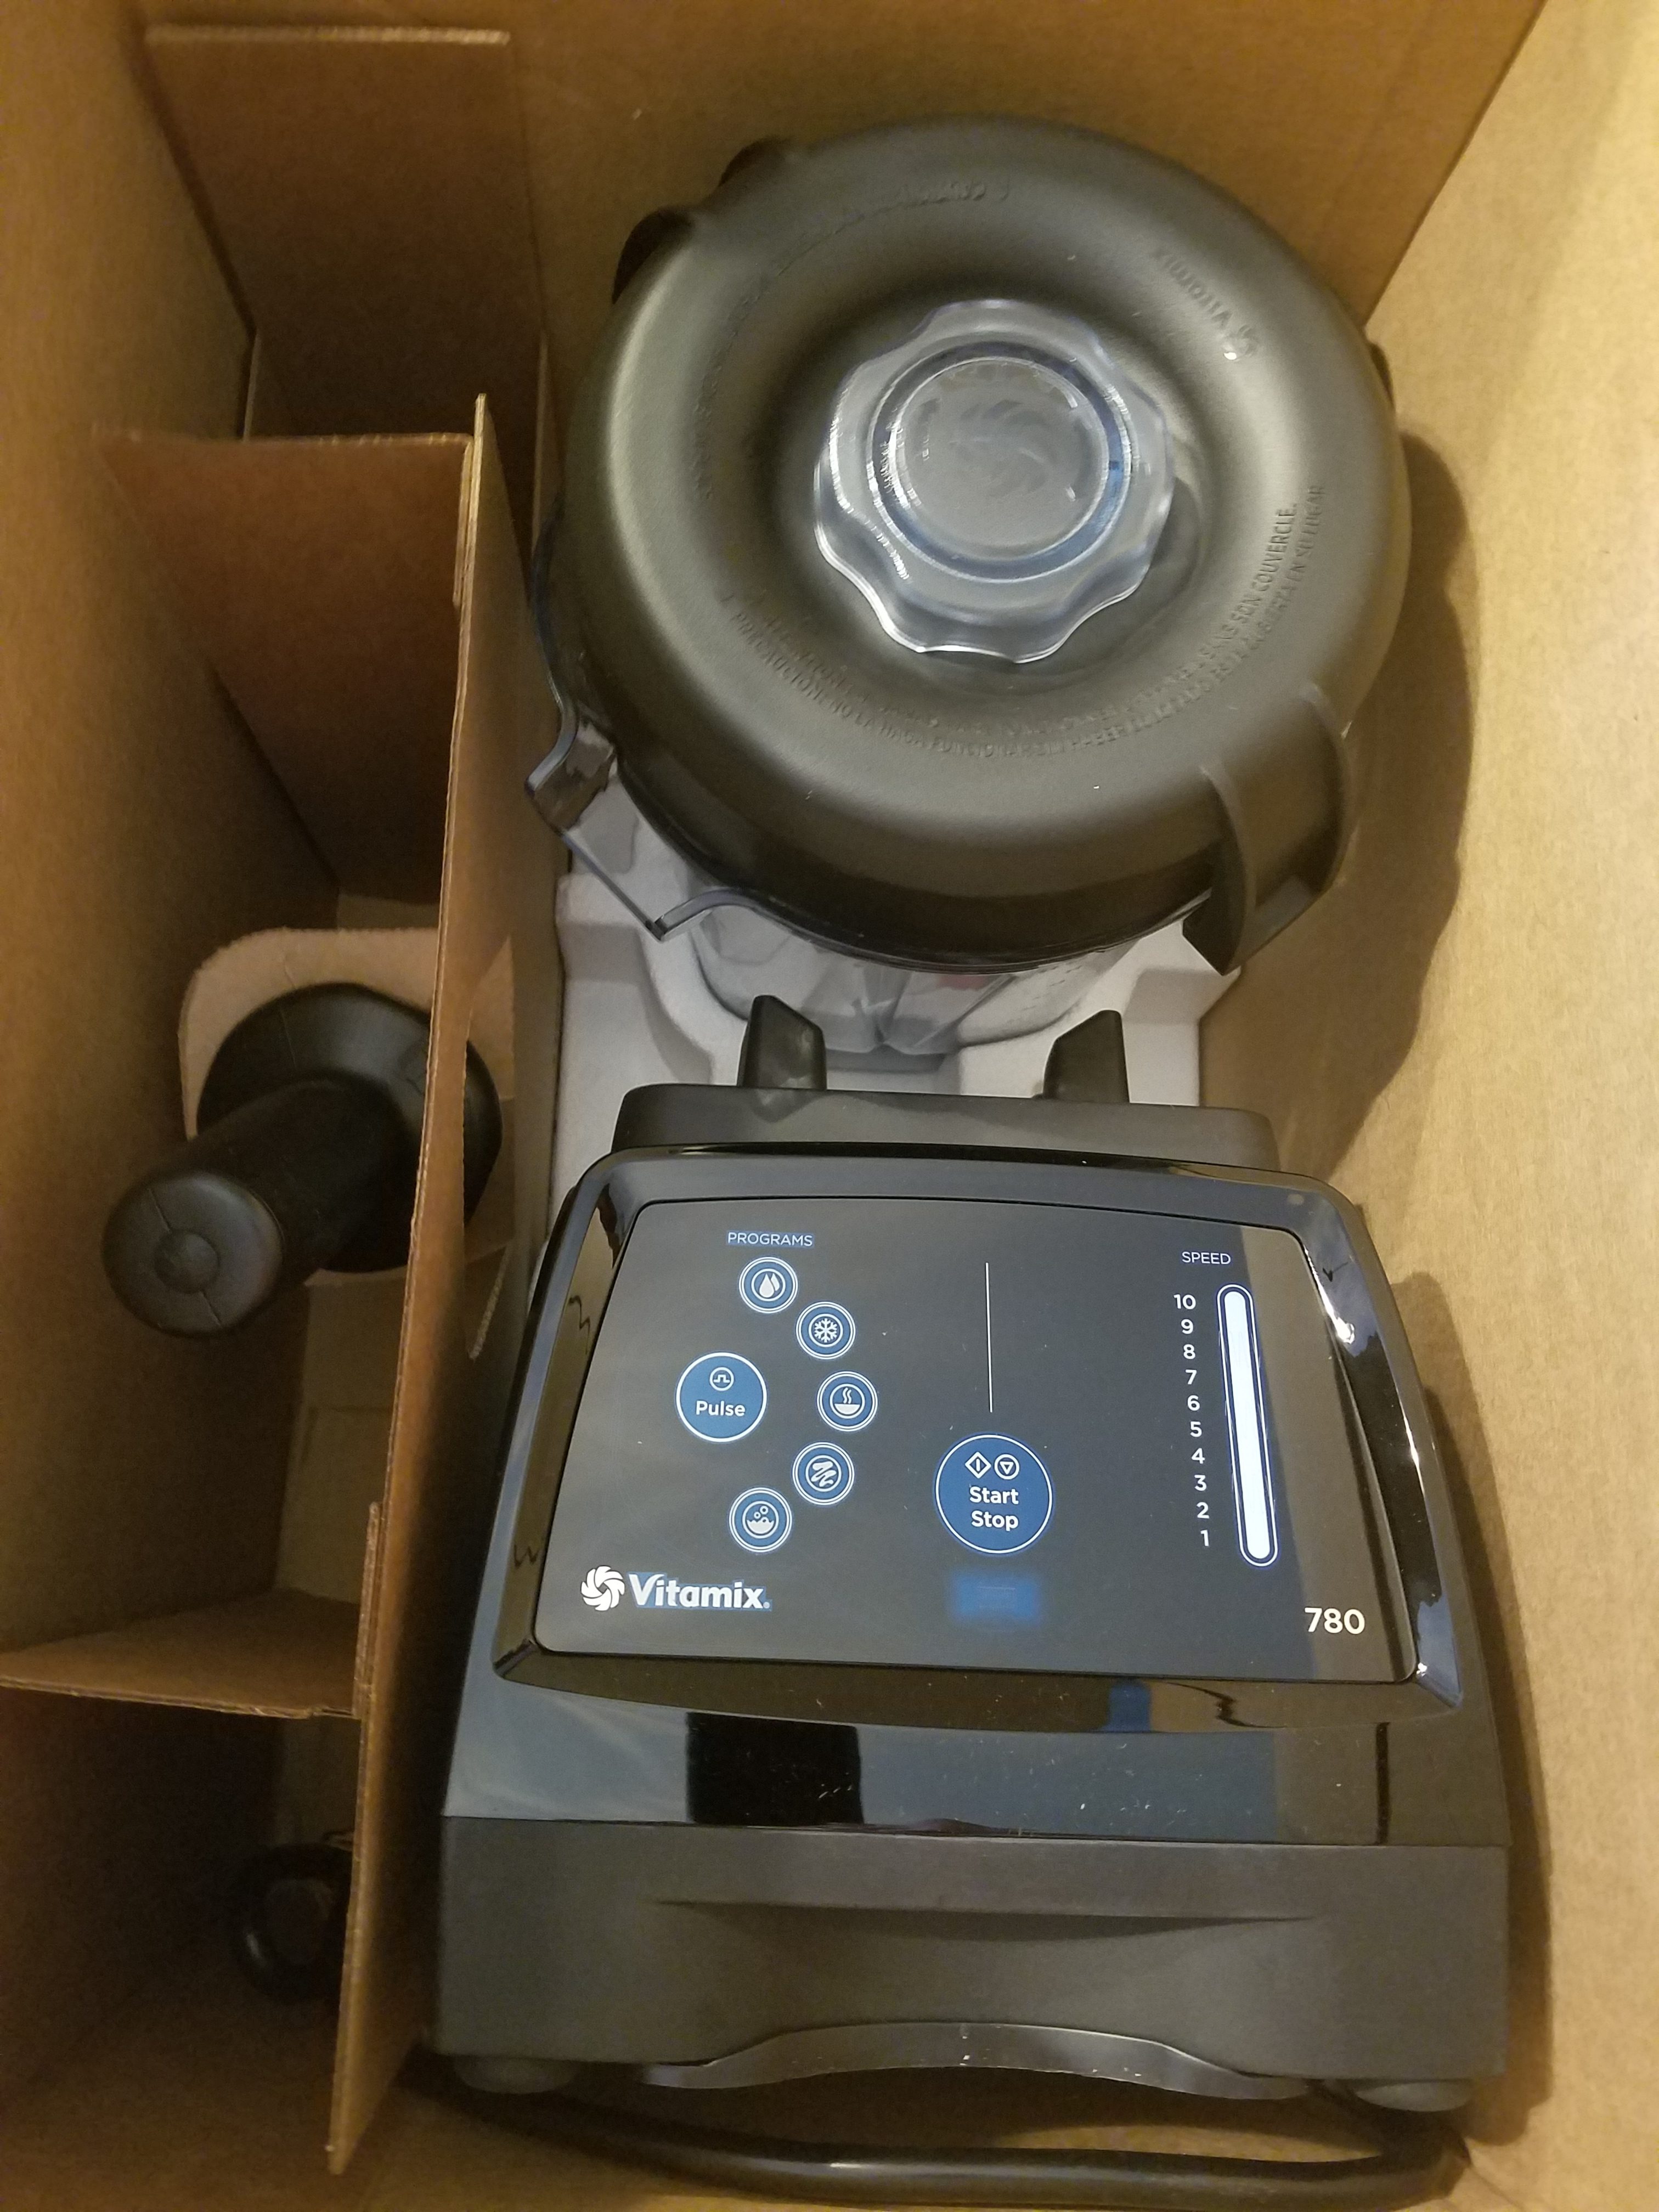
My options for a Vitamix with presets was one from the Ascent series series (that had bluetooth and wireless capability- not sure if I wanted such things near my food), the Professional Series 750, or the 780 with the touchscreen.  I liked the idea of the glass touchscreen and not having a dial to turn (or clean).  The 780 was also slightly less money than the 750.

I also found that different retailers had different models that couldn’t be found elsewhere.  Before I drove myself absolutely insane, I zeroed in on the 750 and 780.  Both have 2.2 peak horsepower, presets, and a low profile container (I measured to make sure it would fit under my upper cabinets).  The 780 wasn’t available on the Vitamix website, but could be found on Amazon and Costco.  For me, it really came down to the price ($500 vs $600), and what I wasn’t getting for the extra $100 for the 750.

The only difference I found besides the dial vs touchscreen was the size!  The size of the 750 was 17.5 x 9.4 x 7.7 in, and the 780 was 17.25 x 8.8 x 9 in.  Was it worth paying an extra $100 for a mere inch or two?  Not to me.

I then quickly ordered the 780 and haven’t looked back.  We use it everyday, sometimes multiple times a day.  My little ones love pressing the start button when using the smoothie or cleaning preset. (Yes, it cleans itself!)  We have used this blender more in the past 2 months than we used our older blender in the past 7 years.  Definitely worth the investment!